


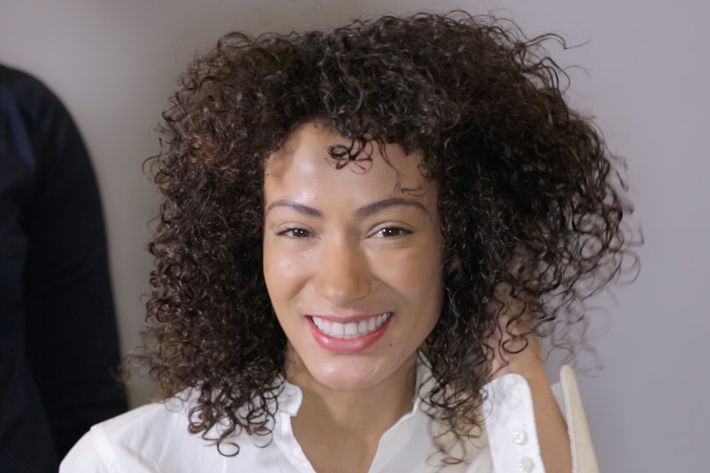
Sometimes, even people with curly hair crave just a bit more body. Traditional methods, like big barrel rollers and thickening sprays, fight the delicate texture of curly hair, rendering it frizzy and oddly shaped. But extensions, specifically clip-ins, are a foolproof way to achieve voluminous hair. The Cut asked celebrity hairstylist and fake-hair connoisseur Cynthia Alvarez how to apply clip-in extensions at home. Her method is outlined in the GIFs below.
Pre-step: Most clip-in extensions are available to purchase individually in varying lengths, colors, and textures. Once you’ve found the style that closely matches your natural hair, select two to three wide strips — like these from Hair Factory — and then one slightly shorter strip for the top of your head.
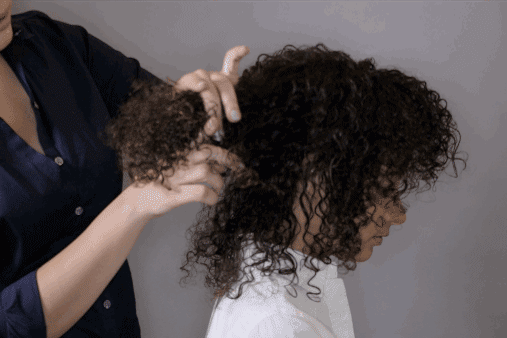
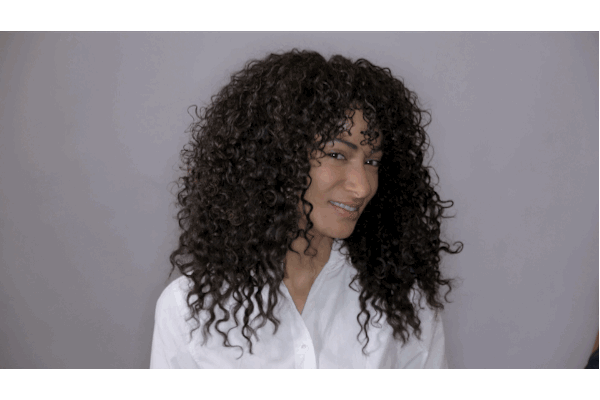
Step 1: Start with clean, dry hair that’s been treated with a moisturizer for curly hair, like DevaCurl’s Styling Cream. Just above the ears, part the hair and clip. This is where you’ll place the first clip-in. Eventually you’ll make three to four additional parts of a similar width as you work your way up to the crown of your head.
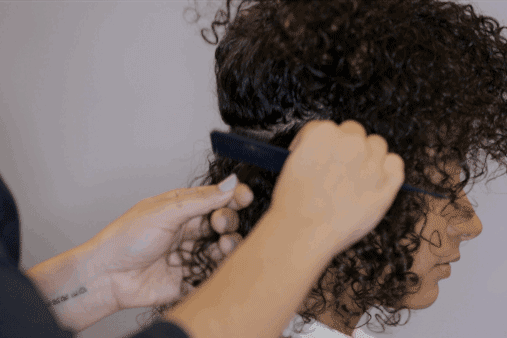
Step 2: Using a fine-tooth comb, tease hair upwards around the part. The friction will make it easier for the clip-in to secure a lasting grip on your hair.
Step 3: Snap the clip-in to hair, just below your first part — it will adhere very easily, like a barrette. Repeat steps one through three for the remaining clip-ins as you work your way up to the second, third, and optional fourth part, respectively.
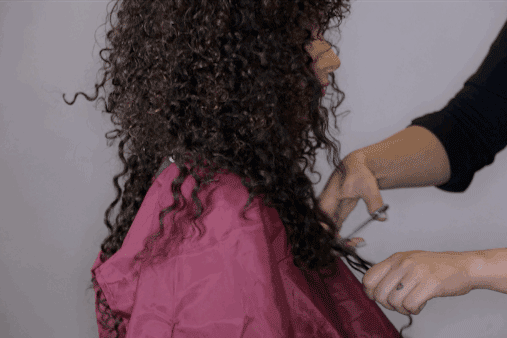
Step 4: Once all of the extensions are in place, carefully trim the clip-ins so that they are just a little longer than your natural hair. This will create a pretty cascading effect and will ensure that you don’t cut any of your own hair. Just make sure to leave the arts-and-crafts scissors behind and use professional shears for a clean cut.
Clip-ins are easily removed by un-snapping the “clip” part of the extension. Synthetic hair has a shorter shelf life because it tends to become matted over time. Extensions made from real hair may be reused for up to a year if they are regularly washed, conditioned, and brushed.